How to Set up a Raspberry Pi VI: Set up Release Pipeline to Raspberry Pi
Learn how to set up a release pipeline to Raspberry Pi in this tutorial.
By
Albert Hovingh
Tutorials
If you’ve made it this far in your journey of your web site and azure pipelines, you are in the home stretch. Once this is done, it’s just a one-click deploy from your repository to your production site. This can be somewhat involved, and probably takes an hour to do.
But don’t worry, I’ll try to make it easy.
Create the Release Pipeline
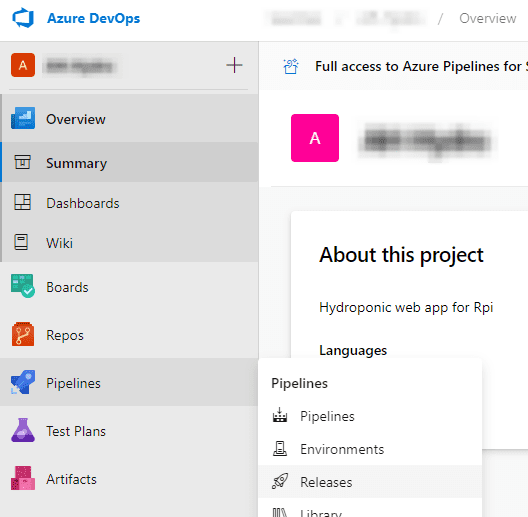
1. To start creating your release pipeline, go back to dev.azure.com/teamname, click on your projects, then go to Pipelines -> Releases.
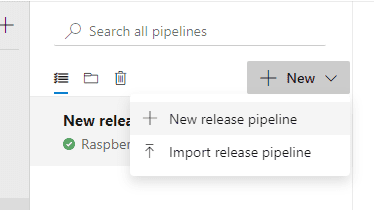
2. Under New, click on New release pipeline
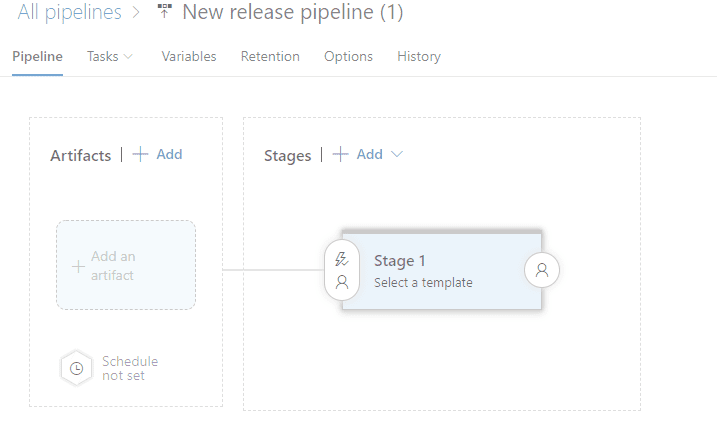
This will give you a blank template of what you want your release to look like. You should be seeing something like this.
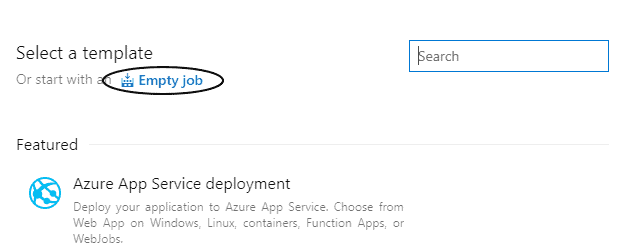
It’s going to open up a menu on the right-hand side of the screen that looks like this
3. Just click on Empty job
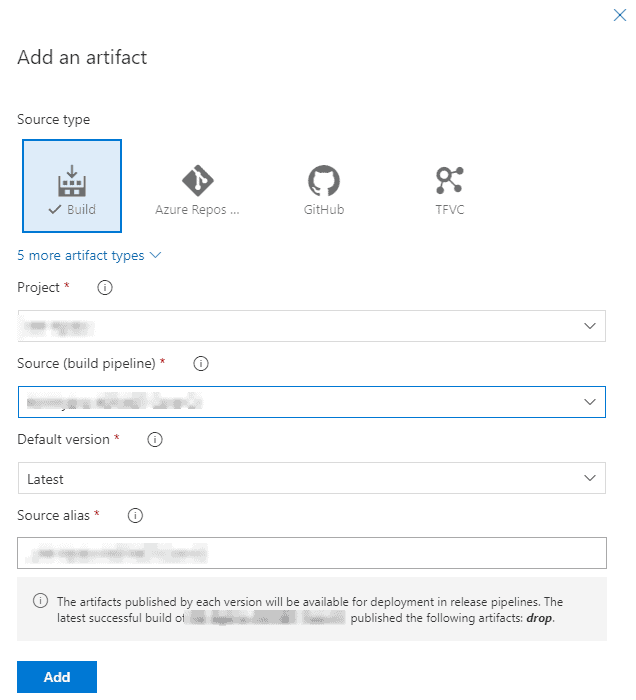
4. If you’ve already created a build pipeline, you can add the output of that build as an artifact. Just click on the plus button next to Add an artifact.
5. Fill in the information that relates to the Pipeline that you set up earlier, and click Add.
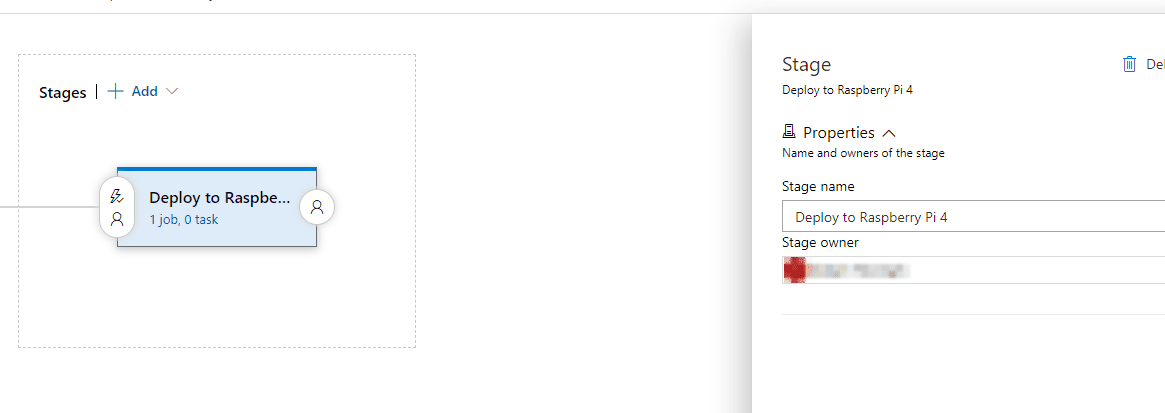
6. Click on the Stage and name it by what you are deploying to (a Raspberry Pi) .
Create a Deployment Group
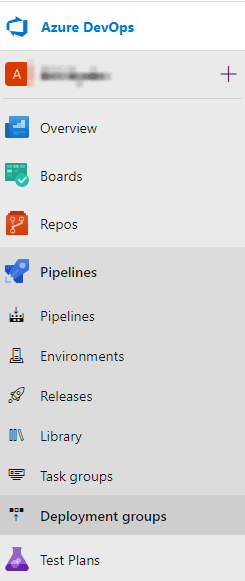
1. Under Pipelines, click on Deployment groups.
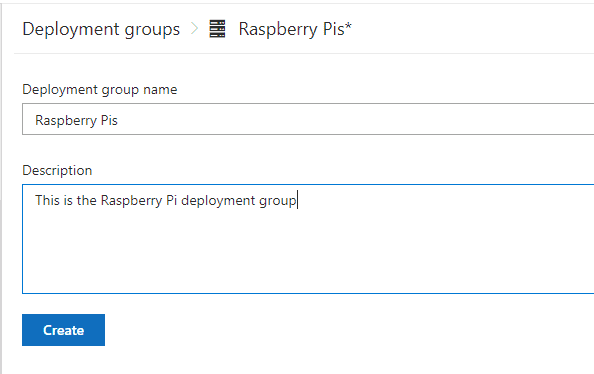
2. Then click on New under Deployment groups.
3. Name the group something you’ll remember
4. Hit Create
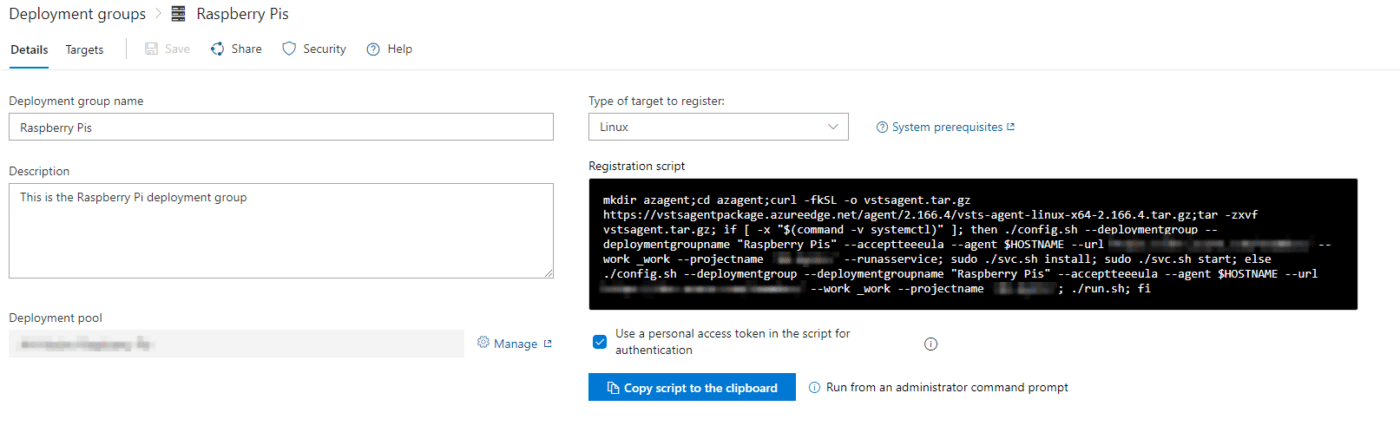
5. In the Type of target to register, Select Linux
6. Make sure you select the box Use personal access token in the script for authentication.
7. Click on Copy script to the clipboard
You will need to change this script. The default script includes a full-blown x64 Linux script, you don’t want that; you need the script that does arm.
8. In the script you copied, replace the part of the script where you find this with this.
Note that the only difference here is the fact that I replaced x64 with arm, so if you are on a newer version, just test the link in the browser to see if it works for the download.
Take this script, and copy it into a terminal window in the Raspberry Pi, and run it in your home directory (you can get there by typing in cd ~)
Also, it’s going to ask you to Enter deployment group tags for agent; press y for yes. Put in a description of the raspberry pi (for me, I put in something like Pi4 Deploy)
If you have to re-run this, then go into your home directory and type rm -r azagent first to get rid of any installs.
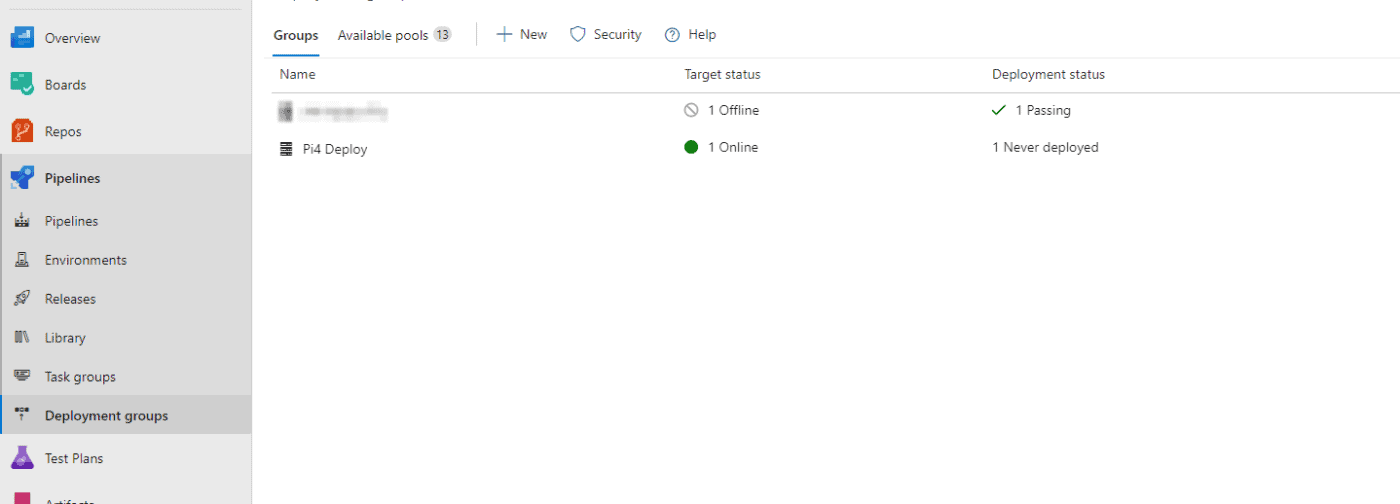
9. Once this is done, you can go look at your deployment group in Azure and see if it’s online or not.
Configure the Release Pipeline
There’s no need to create a service; the script you ran did that all for you! All that’s left is to finish configuring your release pipeline and run it.
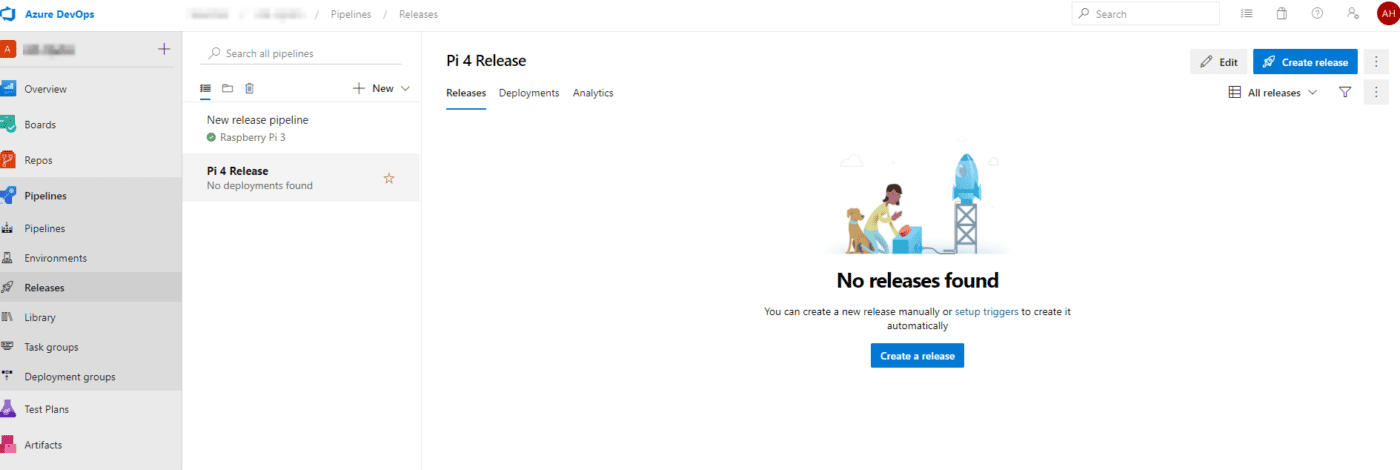
1. Go to Pipelines -> Releases, click on the Release you made earlier, and click Edit
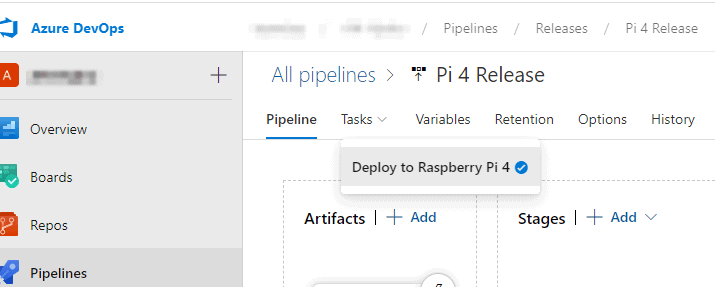
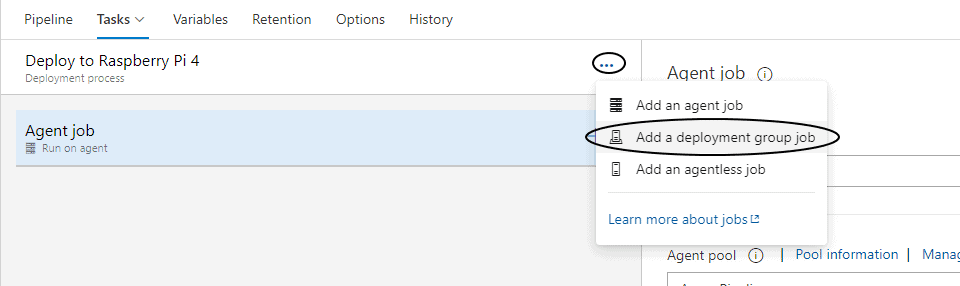
2. Go to Tasks and click on the default task that was created with your pipeline.
3. Create a deployment group job. This creates a context that all of the releases run.
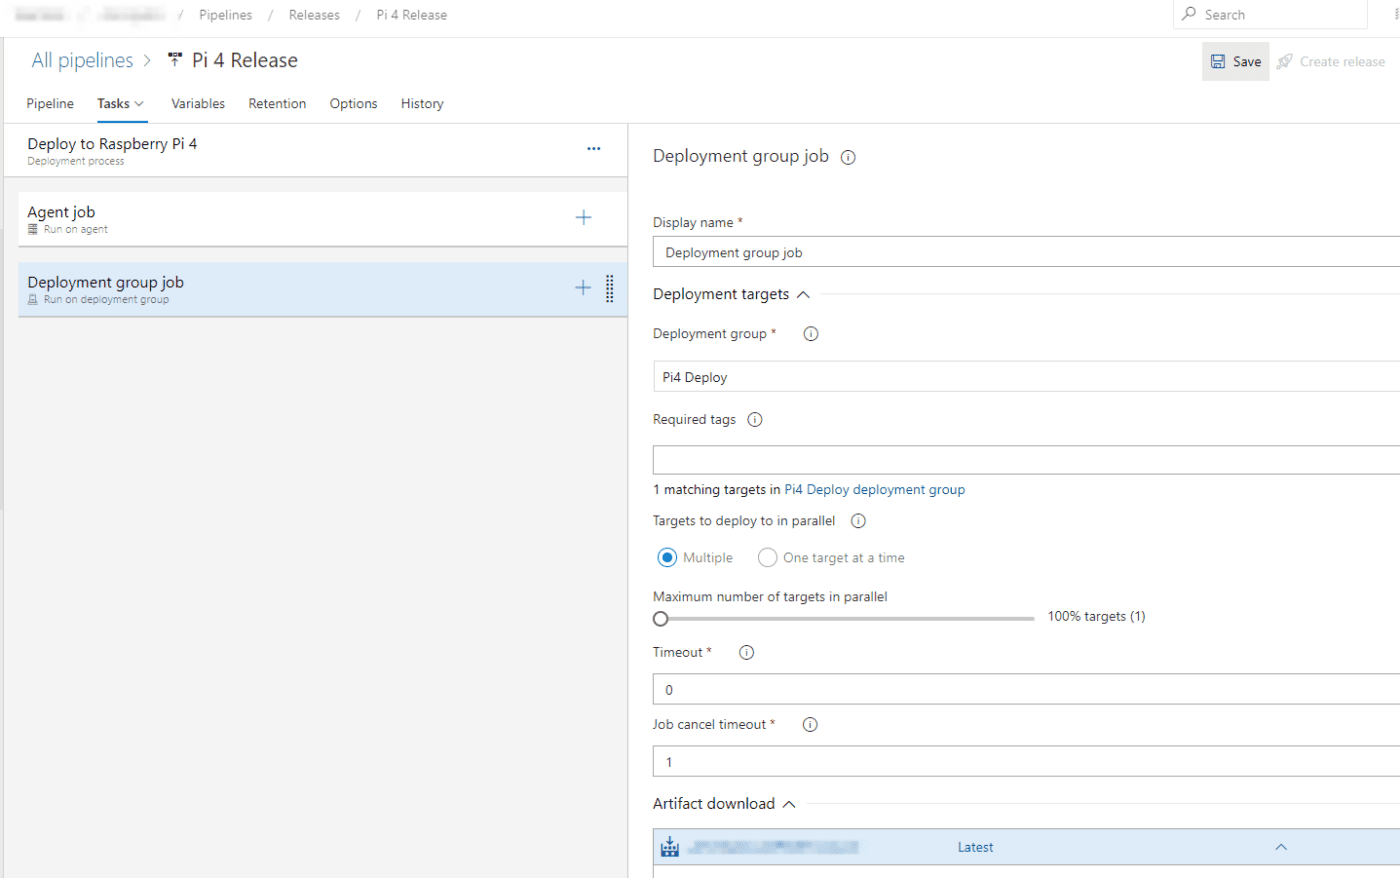
4. In the Deployment group, select the group as the one that you created in the previous steps. Your build artifact is automatically selected for you.
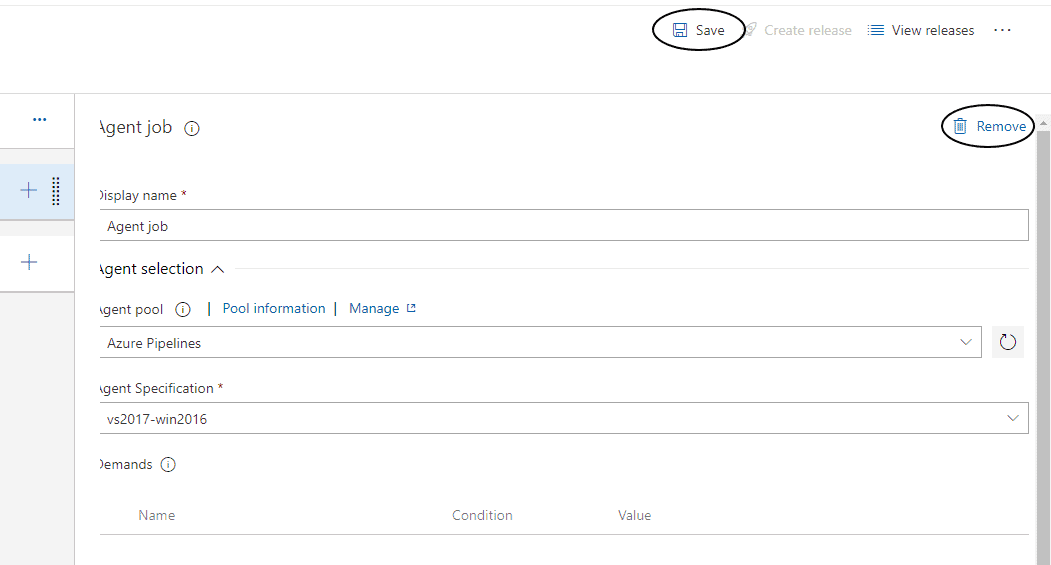
5. We don’t need the agent job, so click on Agent Job and then click Remove. After that, click on Save to save your current progress on the release pipeline.
Create the Release Pipeline Tasks
The Release Pipeline is now going to run in the context of all of the agents inside of the deployment group. Now we can start telling it to do things.
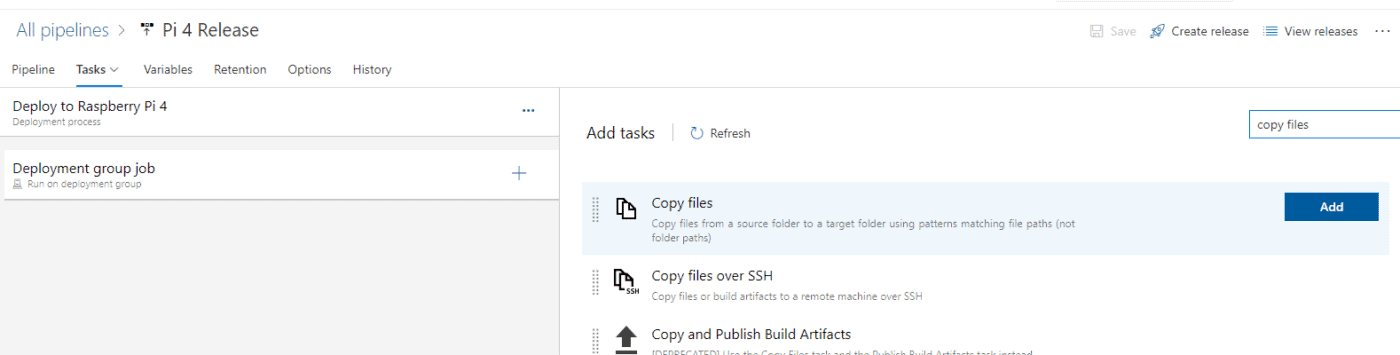
1. Copy your files from the Artifact to a working directory.
Click the Plus Sign on your Deployment group job
Search for copy files in Add Tasks
Click Add
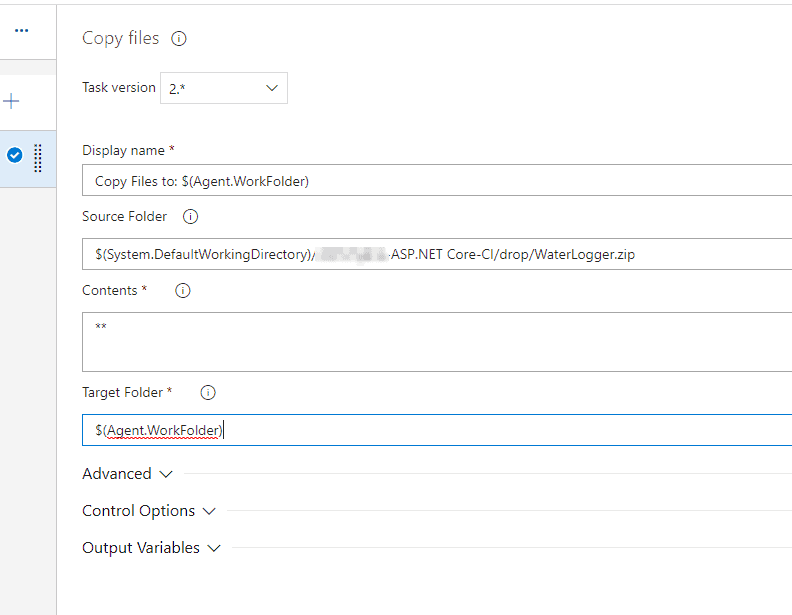
Copy files to: $(Agent.WorkFolder)
Search for the .zip file that is packaged from your build and select it as the Source Folder
The Target Folder should simply be $(Agent.WorkFolder)
Take note of the Source folder, this has your project folder that it saves your zip file to; you will need that later.
2. Stop the kestrel service
Click the + sign on your Deployment group job
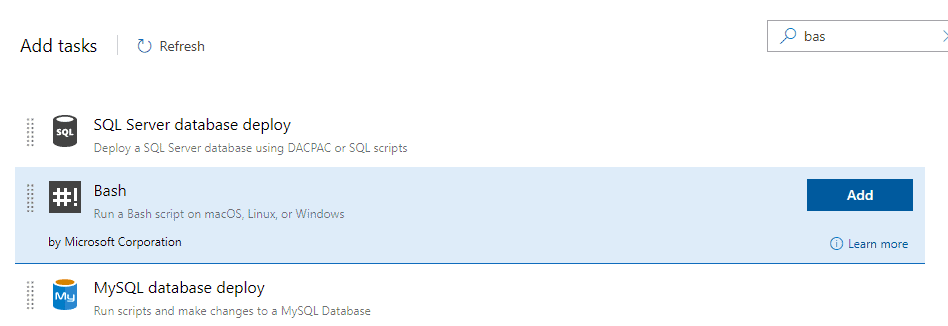
Search for Bash Script in Add Tasks
Click Add
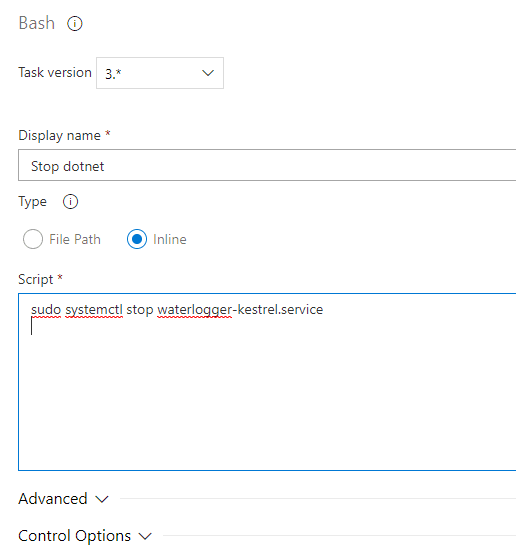
Select the type to be inline
Display Name is Stop dotnet
Script is sudo systemctl stop appname-kestrel.service
If you aren’t sure what service to stop, then go to the Raspberry pi, and type in cd /etc/systemd/system, and then type ls. This will give you a list of services that have started; just look for the one that you made to start dotnet earlier in the tutorial.
3. Stop nginx from serving your site
All the other steps involve creating bash scripts as you did in the last step, so just keep creating them with the following settings
Display Name: stop nginx
Script: sudo /etc/init.d/nginx stop
4. Delete your current website
Display Name: Remove old solution and Recreate Directory
Script:
sudo rm -r /var/www/AppName
sudo mkdir /var/www/AppName
5. Unzip your artifact to your website directory
Display Name: Unzip artifact to the deployment directory
8. After this, your release pipeline should look like this
9. Save your Pipeline
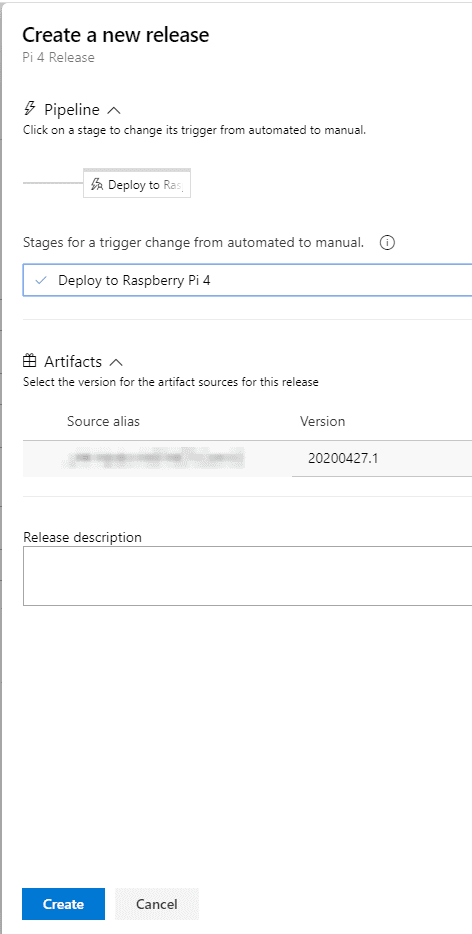
10. Go ahead at test it out by clicking Create release
11. You can manually create your release from the Pipeline. Later you can set it up to trigger on certain conditions (like if you push to the Master branch of your repo). Click on Create
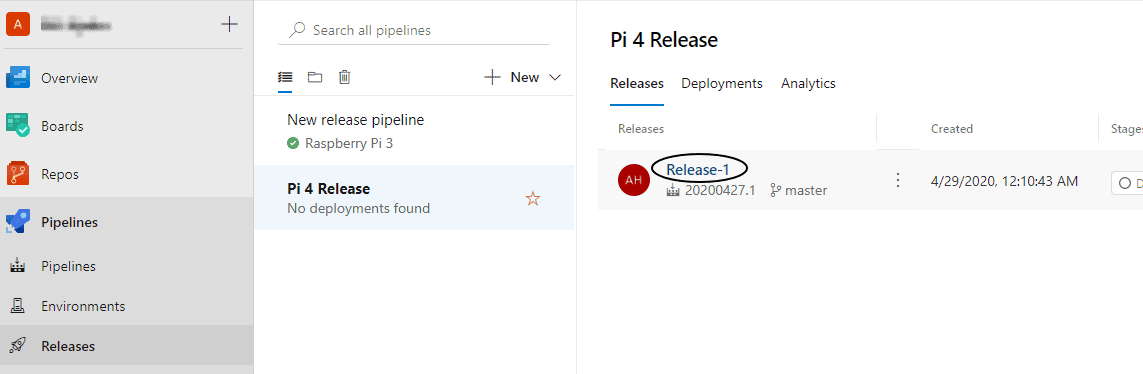
12. After the Release is created, you need to trigger it. If you go to Pipelines-> Releases and click on your pipeline, you should see your first release, go ahead and click on it.
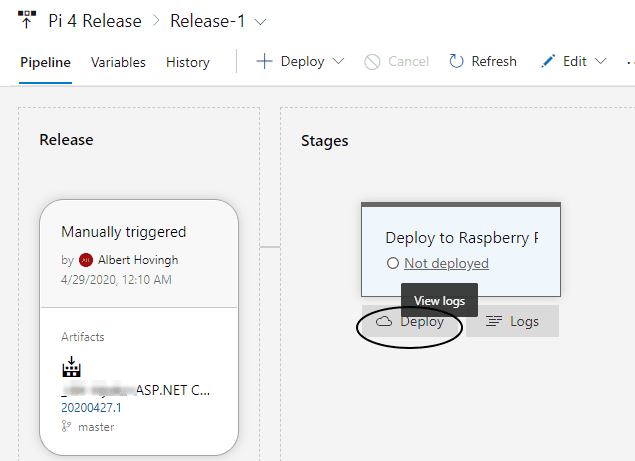
13. This will bring you back into the pipeline and show you where this Release needs to be triggered. Click on the Deploy button after hovering over the stage to trigger the release.
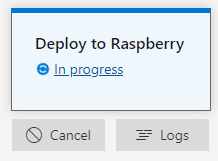
14. While you triggered the deployment, you should see the task turn to In Progress. To view more information, just click the link
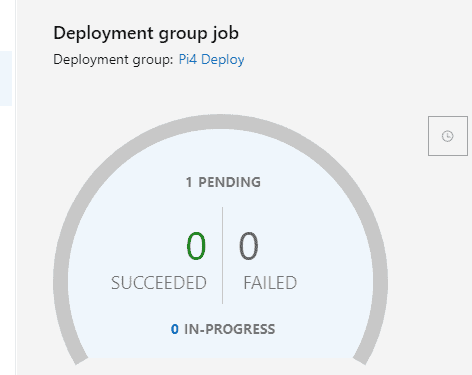
15. It tells you what the status of the task is. To view the steps/scripts that it’s currently running, click the graph.
16. In order to get the details, you may have to refresh this page
This is really handy for troubleshooting any errors that may have happened during your build. It tells you what the status is on each step of the process.
That’s it!
It’s a long process to get here, but once you are here, it’s easy to automate builds. You can set up your releases to trigger on a push to the master branch and set up new environments on other pis (Like if you are hosting a local web app). Now all of your deployments are done by a push of a button instead of manually compiling a list of changes to push when you update your code.
Raspberry Pi Series
Be sure to check out the whole Raspberry Pi series: