It’s 2002, I’m in the second semester of my freshman year of college, and I have a problem. I’m a vocal performance major, but a few months into the school year now, I’m starting to realize that my options with that degree were, shall we say, limited at best. So I have a choice in front of me; stick with trying to make a career out of singing and doing private lessons or switch my major.

If I wanted to stay in the music world and not make a hard left turn into something like physics or Spanish (both things I considered in high school), the option that sounded the best to me was becoming a composer/songwriter. Becoming a school teacher was not at all appealing, and other options were either too esoteric (ethnomusicology) or not something I was interested in (music production/engineering).
So, I decided to try my hand at writing music rather than just performing. I picked up a copy of The Complete Idiot’s Guide to Songwriting and set to work, seeing if there was anything there before making the decision to change my major. I found the book super helpful with its basic introduction to concepts that I was vaguely familiar with but had never really put into practice myself. After working through a bunch of the content, I, ultimately ended up going into music education, which I did for a couple of years before bouncing around and, eventually, finding a home in the world of web development.
Someday, I might literally write the book on Online Marketing inside Kentico. For this post, however, let’s focus on the core principle of the “Idiot’s Guide” books, which is a basic introduction with no real assumptions on what you may or may not already know.
The term “Content Personalization” seems relatively self-explanatory, but in true “Idiot’s Guide” fashion, let’s start with the assumption that you’re digging into this concept for the first time.
When you visit a website, there are basically three ways that site can determine what to show you.
Everyone who visits the site sees the same content all the time. These sites are often simple and meant to convey the same information to whoever decides to visit. That doesn’t mean the content never updates, just that there’s nothing extra going on behind the scenes to “decide” what content comes up when you visit the site. Some examples of sites with static content would be most blog sites or basic brochure sites telling users about your company / service / etc.
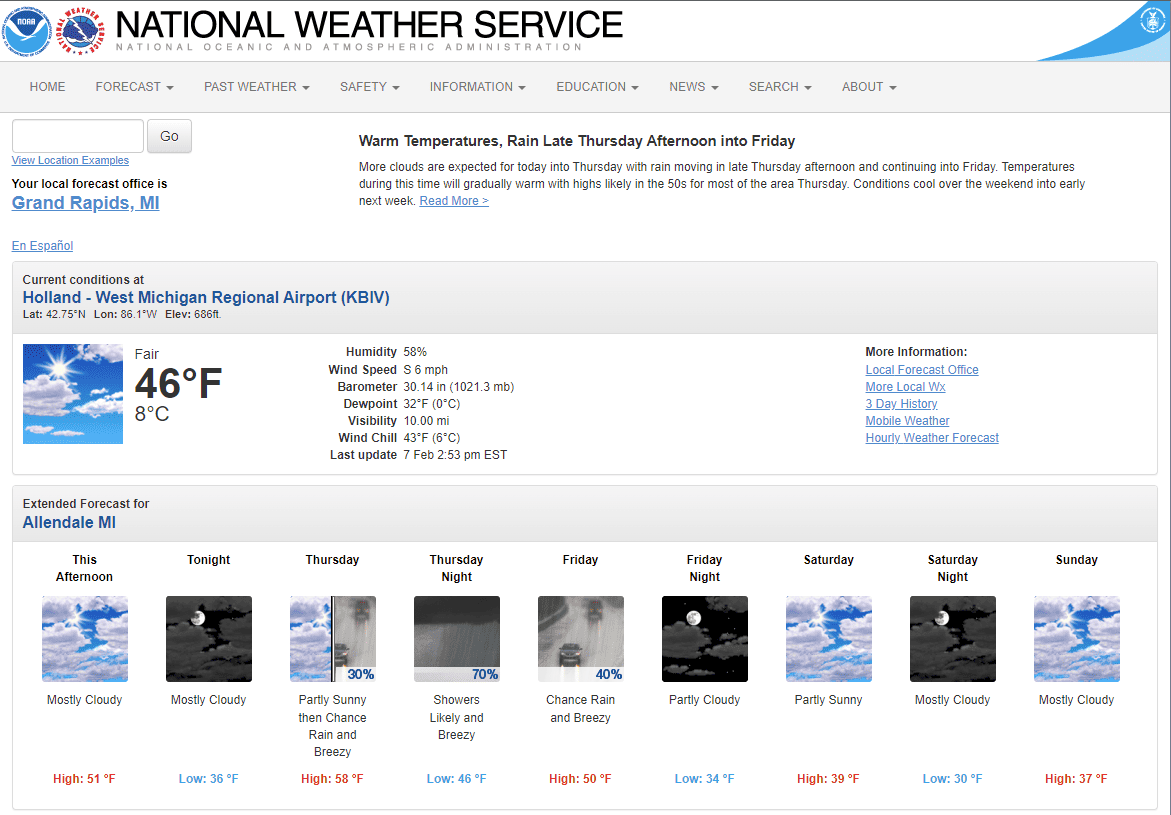
What a user sees when they visit a site with conditional content depends on external factors such as time of day or year, what sales or promotions are currently happening, or what events are being promoted. What content is displayed relies on those external factors, not what user is visiting the site. Some examples of sites with conditional content are a business site that displays whether or not the business is currently open or a weather site that shows the current conditions and forecasts.
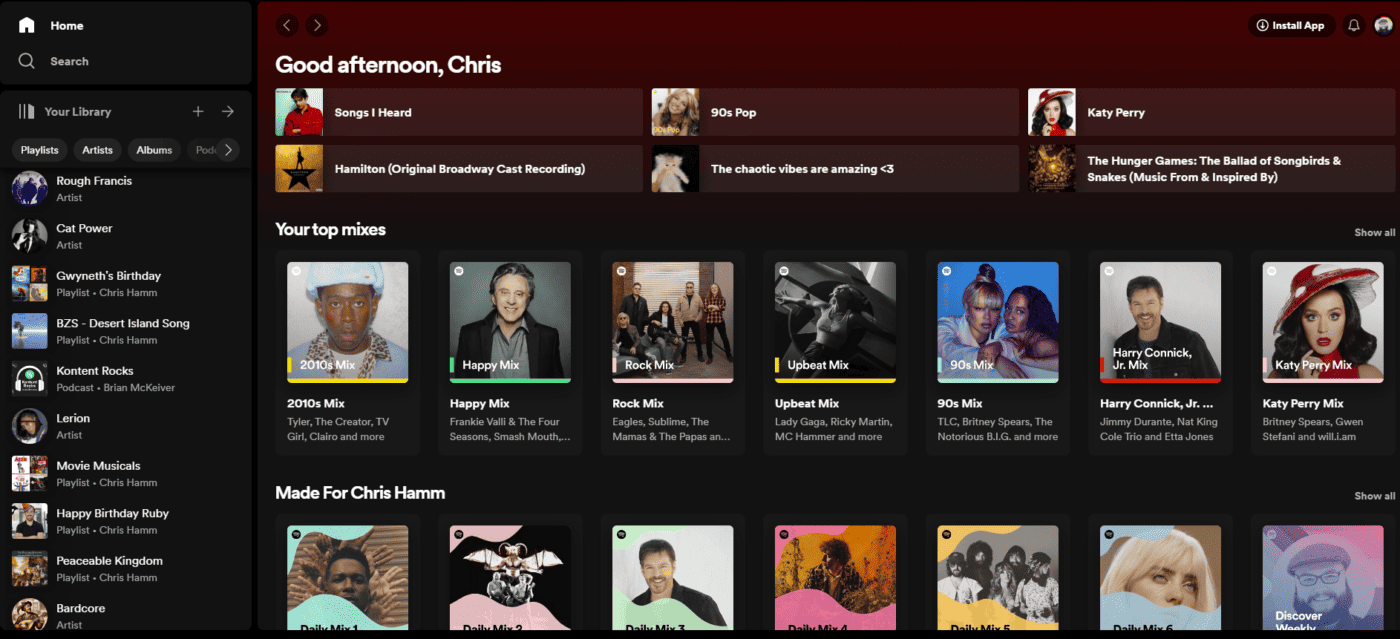
What you see when you visit the site depends on who you are. You might see content targeted specifically for you based on your age, job title, industry, family status, purchase history, or any number of other factors. The site uses various methods of collecting information about you to try to show you content that is the most relevant to you. Some examples of sites with personalized content are most eCommerce sites or social media sites.
Alright, so we know what content personalization is, but why do it? There are some obvious benefits to personalizing content for your users.
If you can show users products that are related to something they purchased in the past, they are much more likely to buy that item versus the user having to start from scratch every time they want something from you. You’re also exposing them to products they may not have even thought of or realized you carried.
Personalizing content provides a better experience for your users. Nothing is more frustrating than reading a couple of great articles on a site and coming back later for more good content only to see a bunch of stuff that is not at all interesting to you. By showing users content based on what they have viewed previously, what industry they are in, etc., you are providing the most relevant content possible and increasing your user’s satisfaction and engagement with your site.
By personalizing content, you incentivize users to provide you with more information that can then be used in other marketing efforts. Let’s say I, as a user, am told that I can get more personalized results on content, product recommendations, applicable sales / promotions, etc., if I give you some basic information about myself. Often, that takes the form of registering for an account. I’m much more willing to provide my information if I feel like I am getting something in return for that data. We’ve all bought something small or signed up for a newsletter after reading a good article, only to find out the emails you get afterward are not interesting or relevant to you. Taking some time to examine and segment your subscribers helps you provide content they are interested in, drives sales, and limits unsubscribes or, worse yet, the dreaded “spam” button.
“Okay! Fine! I get it. Content personalization is great, I’m not an idiot. But how do I do it?”
First of all, you saw the title of this post, so don’t get cranky with me now. Second of all… I’m glad you asked!
Kentico offers several ways to personalize your content for users. For this post, we’ll do a higher-level review of two of the options since each piece of the full puzzle really deserves its own post to do it justice.
Widget personalization is the most common and, arguably, the most useful version of personalization available to you and the one we will focus on primarily for this post. Your developers can enable widget personalization within the page builder feature of Kentico. Widget personalization allows you to do just that, personalize the content of a widget based on certain conditions. Those conditions can be whatever you need them to be so long as your developers can access that information about the person visiting your site (in Kentico, we call this visitor a “contact”). Two of the most common personalization conditions are by Persona or Contact Group.
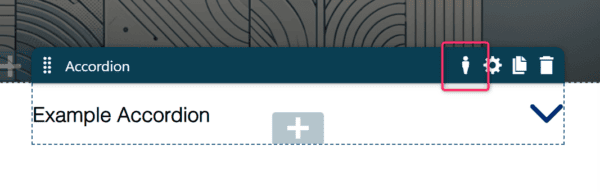
Once the feature is enabled by your developers and the conditions developed, you can access the options by clicking on the person icon on the top right corner of your widget.
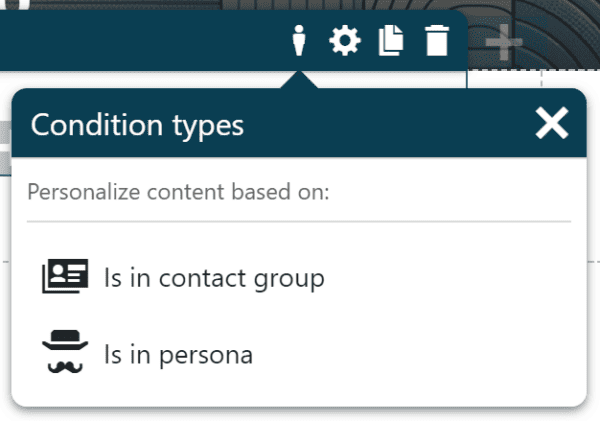
Depending on the type of condition you are using, you may be able to select more than one option. In our example here, I can select a single Persona to display the content to or multiple contact groups. This allows me a lot of control over how I decide to personalize the content for my users.
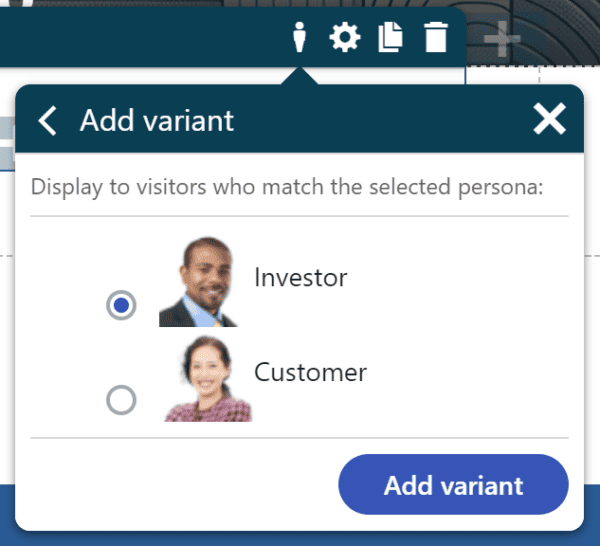
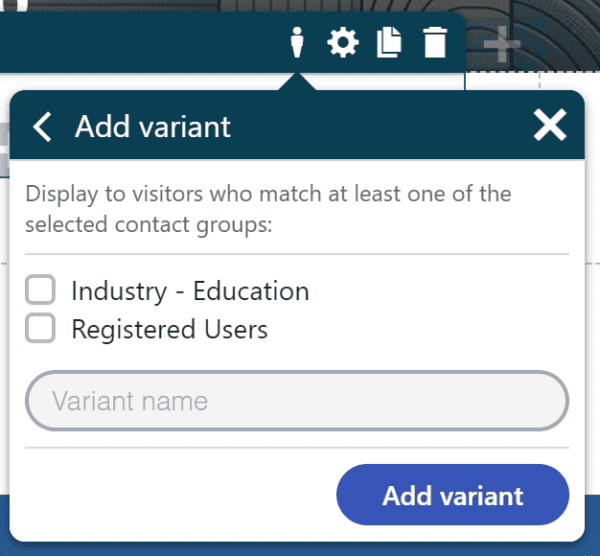
You can see, for conditions with more than one option I can also name my variant.
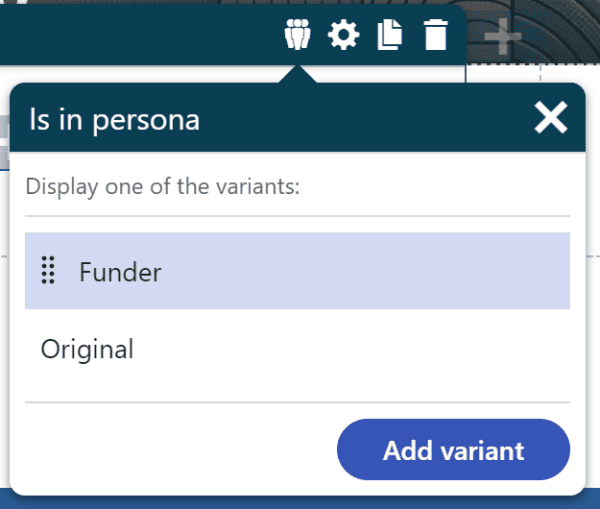
Once I’ve made my selection, and clicked “Add variant,” this creates a version of the widget that will only be displayed to contacts who meet the conditions I set.
Important note!
The Original variant of your widget will always exist and will be displayed to users who don’t meet any conditions. This means you can’t hide a widget altogether if a contact doesn’t meet any of the conditions you set on the variants.
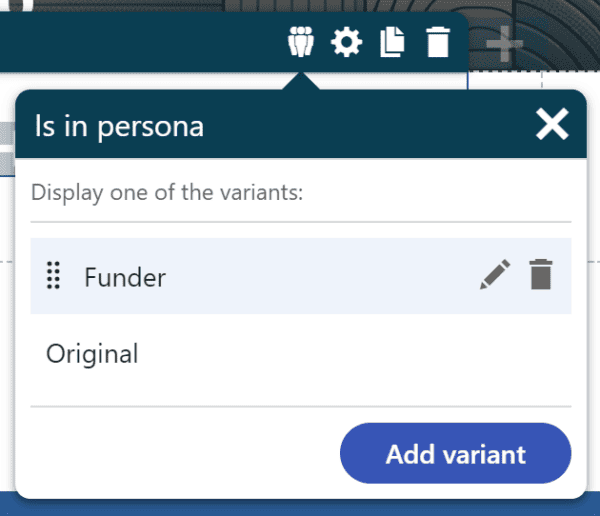
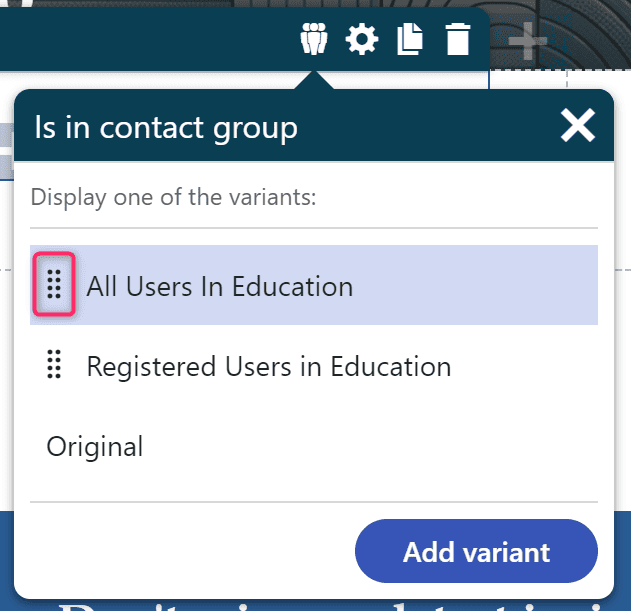
If I want to make a change to what I selected, I can hover over the variant I want to change and choose to edit or delete it.
If you have more than one variant besides Original, you may run into a situation where a user meets the conditions for multiple variants. Kentico handles this by allowing you to order the variants however you like, with the Original variant always remaining at the bottom as a fallback. When a user visits your site, Kentico runs through the variants from top to bottom and displays the first one it encounters that have conditions that contact matches. You can reorder the options by clicking on the dot grid on the left of each variant and dragging it into the order you want.
The best part is, once you have all your different variants set up, you can copy and paste that widget wherever you want, and all your variants will come with it. Then, even if you want to completely change the content in each variant, you have them all set and ready to go.
Sometimes, you may have a need to customize a page to a higher degree than you are able to accomplish with widgets alone. Maybe you’ve learned through A/B testing that one group of your users likes to read through the content of a page before committing to filling out a conversion form, while another group prefers to get right to the form rather than scroll through the page. Maybe you want to apply a whole new theme to the page or make some other larger change based on who is looking at the page.
Your developers have full access to write conditions within the code that can make any number of changes based on the properties of the contact viewing the page. Those changes can be anything from the layout or color changes mentioned above to pulling in entirely different sets of data based on whatever you can work out between you and your developers.
You will want to think carefully about the degree and level of changes you make at this level. There is a balance between enhancing the user’s experience and creating confusion for both your editors and your users. Visiting a page one day, updating your industry on a form, and then going back to that same page only for it to look completely different can be a disorienting experience. Similarly, your editors will have to be extra careful when creating content to ensure it works across all versions of a page and have quick and reliable ways to test that content with each variation. The general rule of thumb is to keep changes as minimal and as meaningful as possible.
Whatever your needs are for content personalization, there is likely a solution within Kentico that will work for you. Just remember to take it one change at a time and measure the performance of each bit of personalization before you move on to the next. Also, make sure you don’t drive your content team crazy, generating 16 unique versions of each callout, CTA tile, and paragraph on every page.
Need a hand with Kentico Content Personalization? We’re here for you! Contact us to get started.

Stay up to date on what BizStream is doing and keep in the loop on the latest in marketing & technology.