When building an intranet-facing utility, making sure the correct people are the only ones getting access can be crucial. While there are many other ways to implement authentication, Windows Authentication is one of the easiest and has the advantage of using the existing security infrastructure of your Windows domain environment. A word of caution, though; Windows Authentication should only be used for an internal-facing application only. It will work over the internet, but that presents a large security headache you don’t want.
In order to use Windows Authentication, there are a few things you need to have set up beforehand that are not covered in this post.
The first thing you need to do is create a new project in Visual Studio. The easiest way to accomplish this is in the command prompt, but first, we need to create a directory to store our files in.
Open VSCode, and open the folder you want to use. For this example, I’ll be using C:\code\windowsauth, but you can use anything you choose. You should get the terminal open at the bottom automatically to the folder you are in; if not, use the Terminal > New Terminal command to open the command prompt.
Create a new project with the command:
dotnet new webapp --framework net5.0
Once your project is created, you’ll have a ton of new files. The one we’re most concerned with is Startup.cs, as this is where we are going to add most of the code to enable authentication.
You’ll want to build and run the application to ensure everything is working properly. You may need to close and reopen VSCode to get it to prompt you to add the build and debug files. Alternatively, you can use the dotnet command line commands to build and run, which are:
					dotnet build
dotnet run
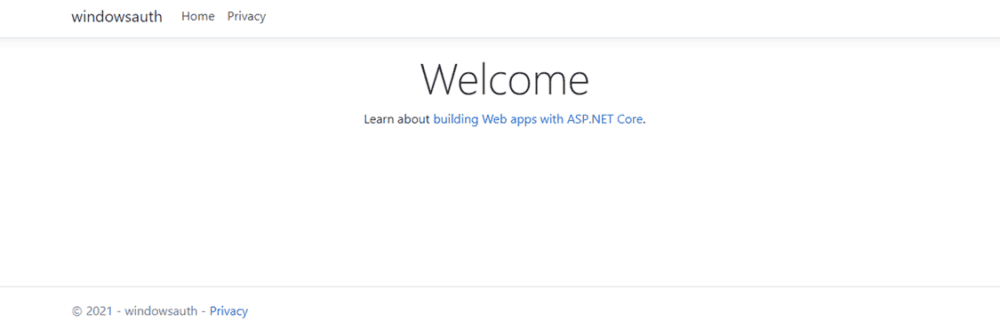
Once running, you’ll want to open a web browser (if it didn’t open automatically) and go to https://localhost:5001, and you’ll see this:
Now that we have everything set up and verified working, it’s time to start adding the authentication. First things first, we need to add a NuGet package. In the command prompt open in VSCode, use the following command to add the Microsoft package we need to make it all work:
dotnet add package Microsoft.AspNetCore.Authentication.Negotiate --version 5.0
Next, we want to start adding the code to the Startup.cs file. Open up Startup.cs, and you should see a section labeled “ConfigureServices” and it should be mostly blank right now. We need to tell our application to enable Authentication and Authorization, so you’ll want to add them to the services collection. When you’ve done that, it’ll look like this:
					public void ConfigureServices(IServiceCollection services)
{
        services.AddAuthentication(NegotiateDefaults.AuthenticationScheme)
        	.AddNegotiate();

    	services.AddAuthorization();
    	services.AddRazorPages();
}
You’ll also need to add a using statement to the top to use the Negotiate functions and constants, so add this to the top of the file:
using Microsoft.AspNetCore.Authentication.Negotiate;
The last thing we need to add to enable authentication in the code is down in the Configure function. The default template we used adds the line “app.UseAuthorization()” for us already, but we need to tell the app to use our authentication as well. Both the authentication line and authorization lines MUST be between the “app.UseRouting()” line and the “app.UseEndpoints()” line to work. When done, the function should look like this:
					public void Configure(IApplicationBuilder app, IWebHostEnvironment env)
{
        if (env.IsDevelopment())
        {
            app.UseDeveloperExceptionPage();
        }
        else
        {
            app.UseExceptionHandler("/Error");
            app.UseHsts();
        }


        app.UseHttpsRedirection();
        app.UseStaticFiles();


        app.UseRouting();


        app.UseAuthentication();
        app.UseAuthorization();


        app.UseEndpoints(endpoints =>
        {
            endpoints.MapRazorPages();
        });
}
Now that we have Authentication all set up, we need to use it in the application somewhere. To accomplish this, we’re going to protect the entire Home Controller on the application because it’ll give us a very easy and quick way to tell everything is working. Open up the HomeController.cs file, located in the Controllers folder. We’re going to add a single line above the class declaration; here is what that will look like when done:
					[Authorize(Roles = “SomeGroupThatDoesntExist”)]

public class HomeController : Controller
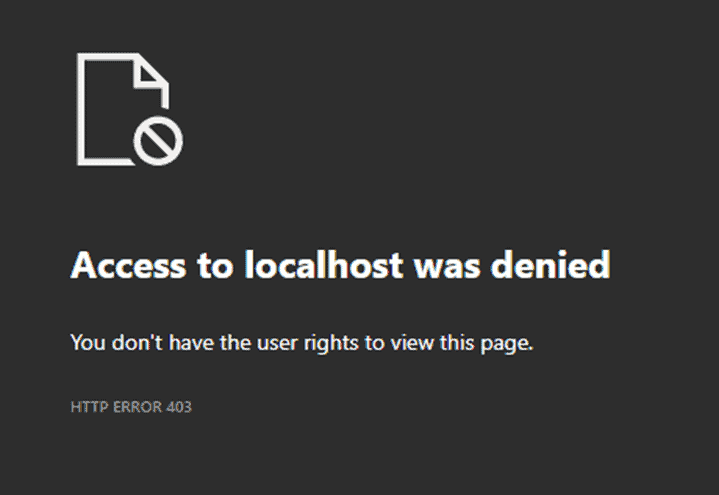
Notice we used a group that doesn’t exist. This is on purpose so we can see it denying us access first, and we’ll know for sure it’s working properly when we fix it. Run your application again; you should see an access denied page:
Now stop the debugger and change that group name to one that exists, and your user is a member of. If you don’t know or aren’t sure, you can print out some of your user details by typing this command in the VS Code terminal window:
gpresult /v
This will print out a lot of information about your user, but what we’re looking for is a section labeled “The user is a part of the following security groups” which is a list of every group you are a part of. Pick one of those and replace the “SomeGroupThatDoesntExist” with the one you picked. Now run the application again; you should now see the page instead of an error like you did before:
That’s everything, you now have Windows Authentication running in your development environment! When securing your application, you can do so at the Controller level, which secures everything like my example, or you can do individual actions; the way you do it is exactly the same, just add the line with Authorize above the action and not the controller.
This will have gotten your environment working for local development. It should continue working properly as long as you use a localhost address to run everything. Let’s go over what you need to do for deployment with a real URL and not a localhost one. Note that if you choose to use a real URL for a development environment (like mysitename.com.test or something similar), you’ll have to follow the same directions here to make that work as well.
You’ll need to set up and configure your web server that will be running the application. Once done, you’ll want your administrator to run the following command in the command prompt or PowerShell:
setspn -a HTTP/intranet.company.com YourServerNameGoesHere
Make sure to replace intranet.company.com with the actual address your application will be using and YourServerNameGoesHere with the actual name of the server the application is being deployed to. Without going into the nitty-gritty of what this command actually does, it will authorize the server to access and use permissions from Active Directory, which is what we need.
You will also want to ensure you have a security certificate on your site, it’s not required to make everything work, but it is very highly recommended when using authentication of any kind to maintain security.
If you are new to Authentication with .Net, you’ll want to read more on what you can do. Microsoft is usually a pretty good resource on this so the best place to start would be Microsoft’s .Net Documentation on Authentication.
If you are interested in learning more about how the authorization side works and the different ways you can implement and use it, start with Microsoft’s .Net Documentation on Authorization.
Stay up to date on what BizStream is doing and keep in the loop on the latest in marketing & technology.