How to Set up a Raspberry Pi III: Troubleshooting Issues
Learn how to troubleshoot common issues with Raspberry Pi
By
Albert Hovingh
Tutorials
Is your Raspberry Pi not working correctly right after install? It’s ok; things will get better. After you do what I say, that is. Don’t feel bad if your Raspberry Pi doesn’t work right away, I had to troubleshoot about four or five times before I learned my lessons.
I’ve found that it usually boils down to something not loading correctly on the SD card. The problem I ran into when this happened was that I wasn’t sure if the Pi just didn’t like my monitor or if it really wasn’t working. It turns out there’s a way to find out!
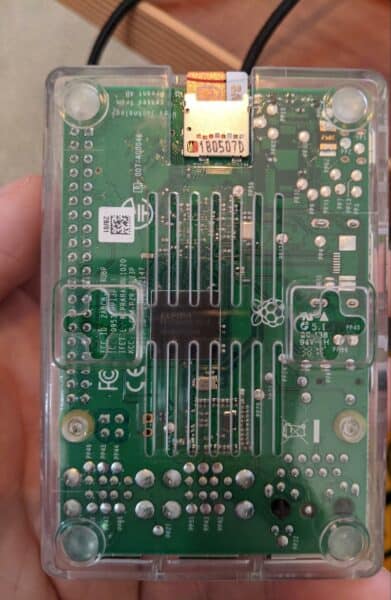
See the little lights on the side of the Pi?
If only one of them is on and the other one never blinks, that means your Raspberry Pi isn’t starting up. Something is probably wrong with your SD card. Here’s how you can fix that.
If you are setting up the Raspberry Pi for the first time, I recommend doing this anyway.
How to Wipe an SD Card for Installing a Raspberry Pi
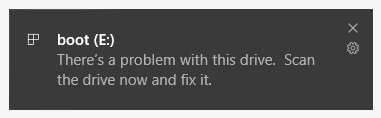
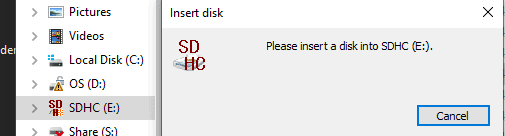
1. Put the SD card into your computer. When you do this, you’ll probably get this warning. Just dismiss it, and if a dialog box opens, simply exit out of it.
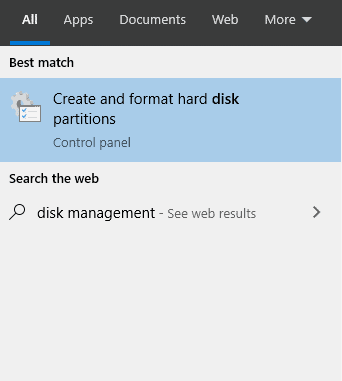
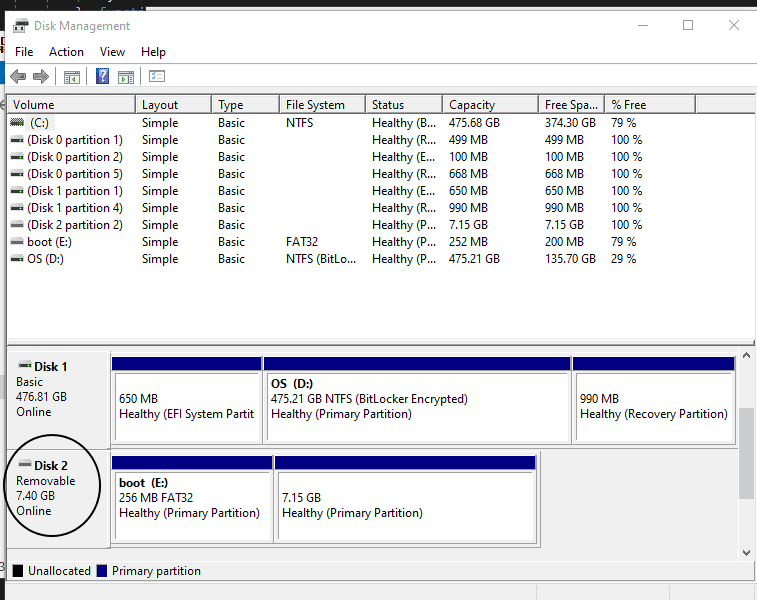
2. Hit the Windows key and type in Disk Management. Click on Create and format hard disk partitions.
3. Make sure that you look at the disk that’s in your drive. If you get the wrong one, you could erase your own hard drive and anything that’s on your computer. I did this. It was very embarrassing, but mostly because I told everyone.
I’m using an 8 GB chip, so I know that it’s this disk.
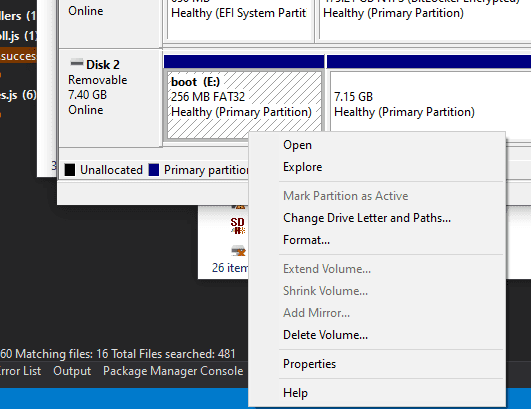
4. For each of the Partitions in that disk, right-click and select Delete Volume… I can’t stress enough to make sure that you are deleting it under the correct disk.
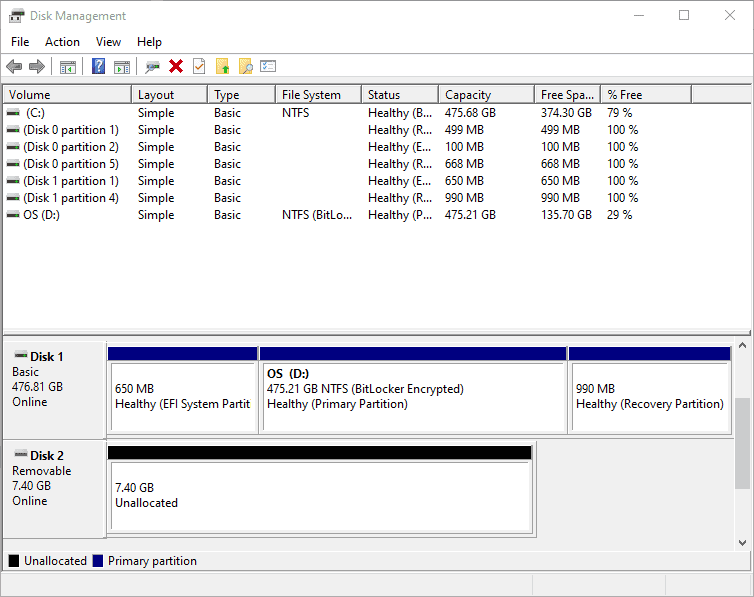
5. After you are done, it should look like this.
6. Take out the SD card and put it back into your computer. You can try to open it, but it will error out. This is because it’s completely clean, and it doesn’t even know where to store things. That’s good because it’s the right state to run the installer in.