If you want to run a website from your Raspberry Pi, there is good news for you. It can be done! If you read my other blog post, Creating a .Net Core Website on Your Pi. If you want to automate your builds and deploy them to a Raspberry Pi, you’ve come to the right place. This makes it so that you can do all of your development on a windows environment (or any environment, or from multiple environments) and deploy seamlessly with a click of a button to a Raspberry Pi. Bad news, it’s not very easy to figure out how to set it up initially. As far as I know, there isn’t a good tutorial on how to do this. So, here it goes.

1. Get a website working. I’m using a .NET Core app with REACT.
2. Get an account on Azure DevOps – I will admit, this is the only thing that I never actually did myself. I used an existing account to do this.
3. Have a repository where you store your .NET Core solution.
1. Go to dev.azure.com/azureaccount
2. In the top right corner, click on New Project
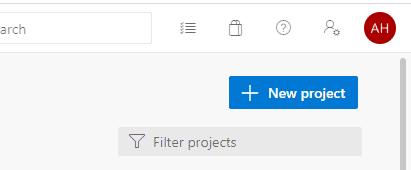
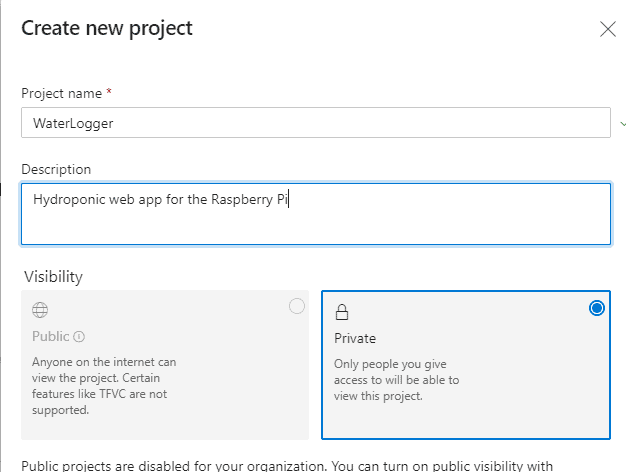
3. Fill out your project name and description and click Create
It will give you quite a few options on the side. You really aren’t interested in any of them except pipelines for this tutorial.
If you are unfamiliar with pipelines, then know that there are two main kinds of pipelines: build and release.
The build pipeline tells Azure where to go to build something. So in my case, I’m getting my code repo from git and building it on my Raspberry Pi. This creates a build artifact. Once you have a build artifact, you can publish/deploy it using the second main kind of pipeline – the release pipeline.
The release pipeline takes your build and publishes it to wherever you want it published to. In my case, I’m taking my build artifact from my Raspberry Pi and then publishing it to the web directory on the same Raspberry Pi.
So with our next steps, we need to set up a build pipeline and a release pipeline. The release pipeline will be covered in the next blog post.
You can have Azure spin up its own server for you to build stuff for every time you run the build Pipeline. It’s probably easier than doing what I’m about to show you. However, I didn’t want to incur any charges to the account I was using, so I needed to build on my own equipment. If you have a default account, you can use the Azure (I think it’s just the default one) agent pool with enough free build minutes that you probably won’t have to worry about the cost. If that’s the case, you can just skip down to where we set up the release Pipelines. It won’t make me sad because I don’t actually know you’re reading this in the first place.
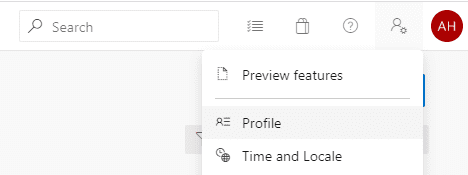
1. Before you can create the agent, you need to create a personal access token so that your Pi can authenticate with Azure. To do this, click on the little user Icon next to your user badge in the top right. Then click on Profile.
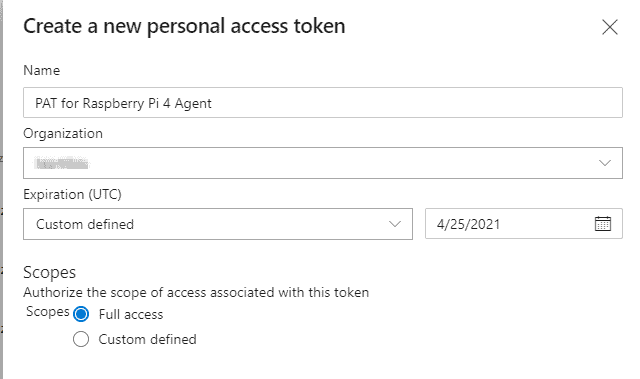
2. Click on New Token, Then fill out the agent according to what’s on the screenshot (Your organization name is specific to your organization) and name it whatever you want. Then click Create.
3. Copy your Personal Access token. You will use it later when configuring your Raspberry Pi.
4. Agent Pools are not on a project level. They are an organizational thing, that way, if you have a build server, you can have a bunch of different projects use the same build server whenever you need it. So, go to your home page at dev.azure.com/azureaccount.
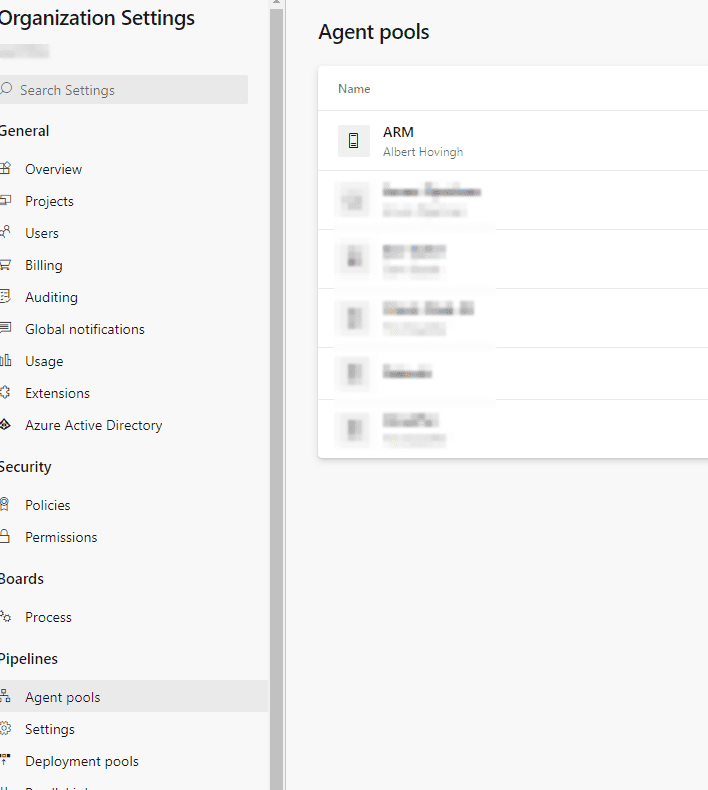
5. In the bottom left-hand corner, click on Organizational Settings

6. Go to Pipelines -> Agent pools
7. Click Add pool and add a name/description and submit
8. Now, you need to access azure from your Raspberry Pi. So, log in to your Raspberry Pi, and navigate to the Agent pool you just created
9. Now Click on Agents and click on New Agent
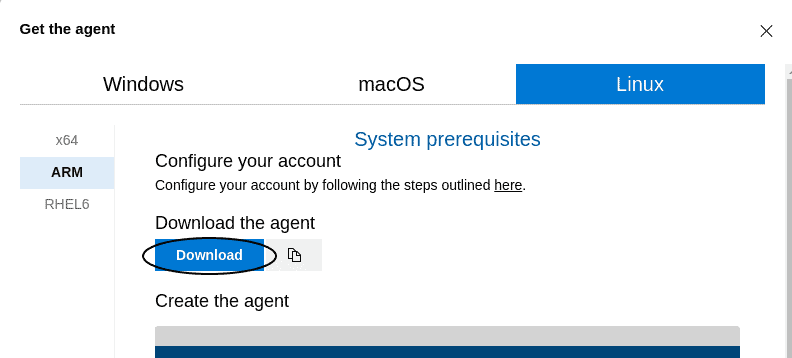
10. Select Linux and then ARM. Then click the Download button to download the agent
11. Then you want to run the commands listed from a terminal window on your raspberry pi.
mkdir myagent && cd myagent
tar zxvf ~/Downloads/vsts-agent-linux-arm-2.166.3.tar.gz
./config.sh
When you run this command, it’s going to ask you some questions
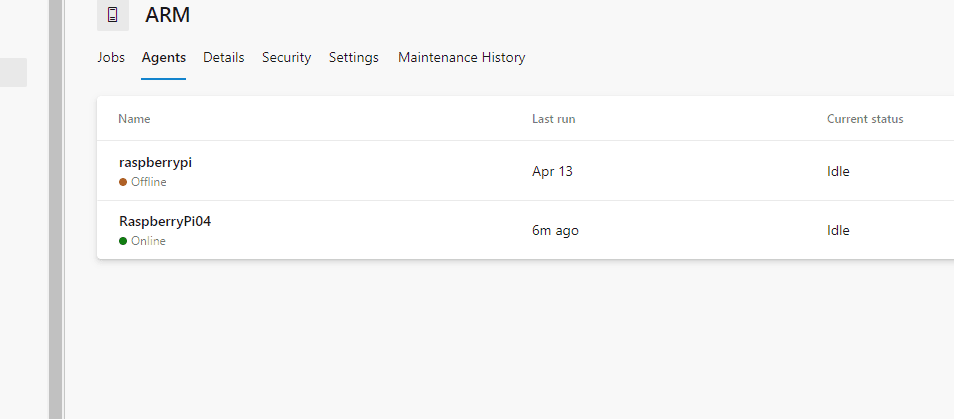
12. To see if the agent is online, go to dev.azure.com/organization -> Organization Settings (in the bottom left)
Click on the Agents tab to see if your agent is running. If it isn’t, then go to your terminal window where you installed it (in the case of this tutorial, it was installed at ~/myagent), run the command ./run.sh and it should soon enable your agent. If it still doesn’t work, you may have to recreate the build agent, or reboot the raspberry pi and try again.
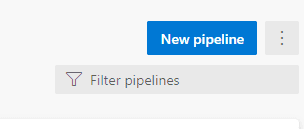
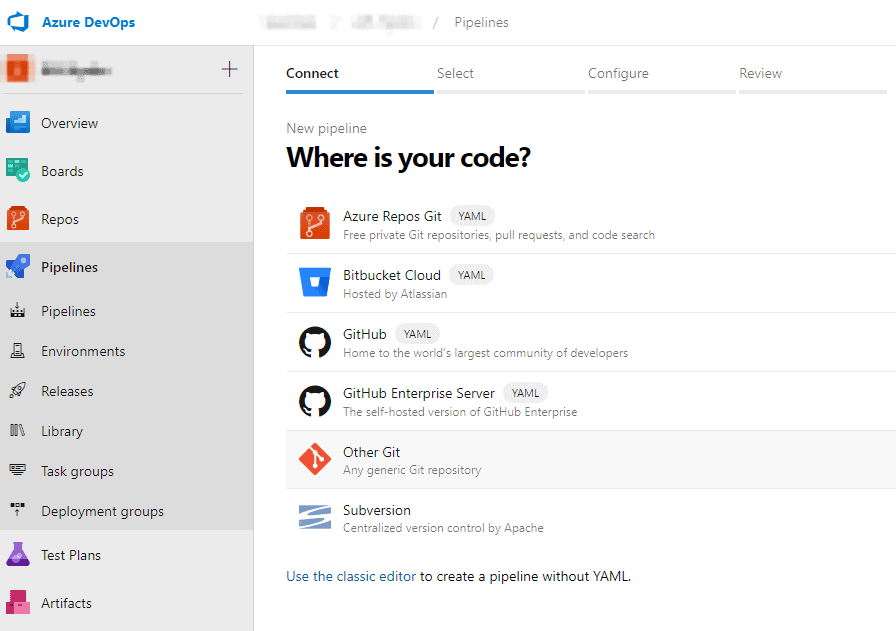
1. Go to Pipelines on the side navigation menu, then click on New Pipeline in the top right of the screen.
2. There are two different ways that you can do an Azure Pipeline. YAML, or the Microsoft designer. Ideally, YAML gives you more control, but I chose the Microsoft designer way since it’s easier to start with. I also found YAML to be really boring. So, in my case, I had a Git repo on the very same Azure Account, but I chose Other Git for this so I could get the Microsoft designer features for the Pipeline. Note that you can switch to YAML if you want to later. However, if you choose any of the options tagged YAML, you can’t get any Microsoft designer features.
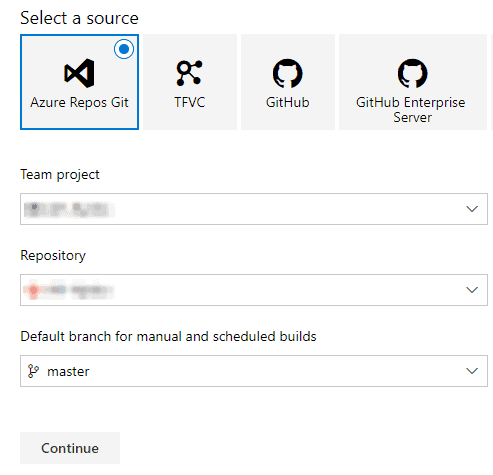
3. Now, you can select your Azure Git Repo here; just give it the information you need (If you are using another repository, select something else). Click Continue.
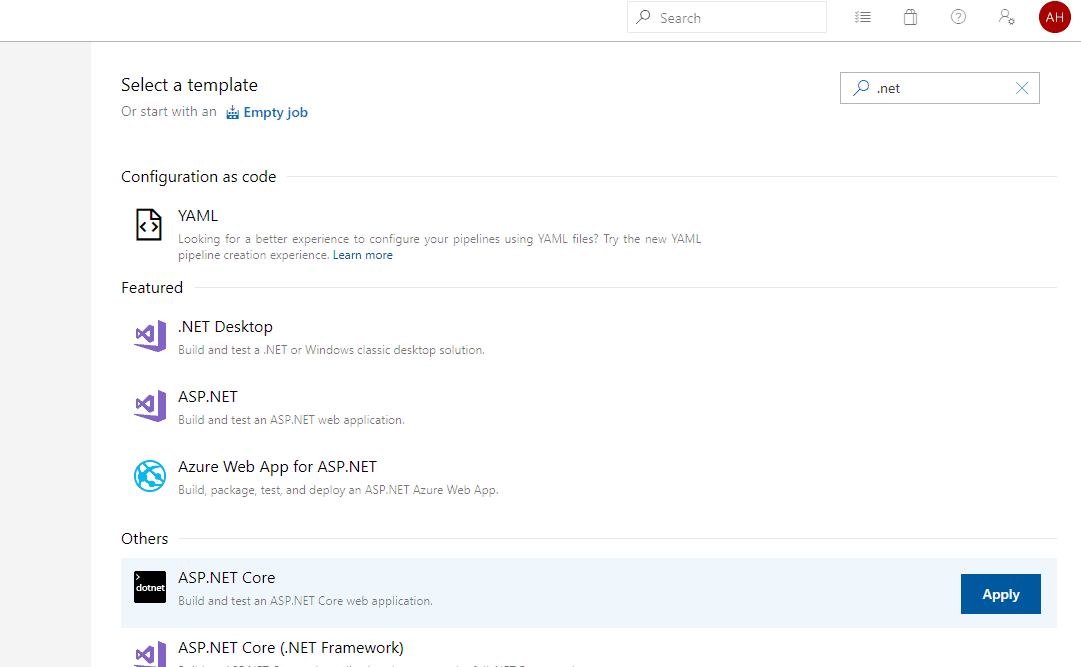
4. Next is your basic templates. Since this tutorial is running with a .NET Core application, I’d suggest selecting that just to get you started.
5. This gets you set up with a basic starter pipeline. There is one thing I recommend changing about the default, and it’s on the publish step. So click on the Publish step, and add -r linux-arm into the Arguments text box.

The Artifact staging directory doesn’t matter all that much because you are grabbing from that same directory in the release pipeline that we will be setting up later.
6. Click on Save (Not save and queue as we aren’t fully set up yet).
Now that the Pi is set up as an agent, it’s time to finish the pipeline build.
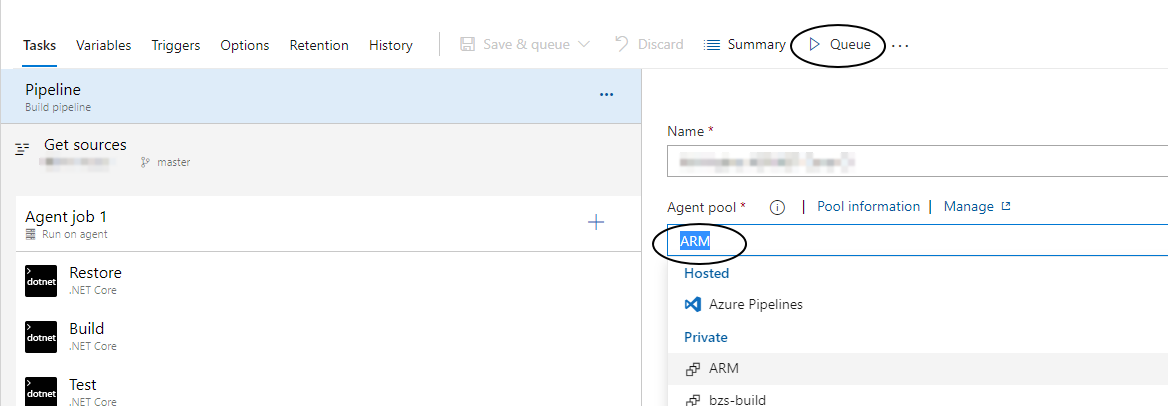
1. Click on your Pipeline, and select the Agent Pool that you made earlier.
2. Click Queue to run the Pipeline.
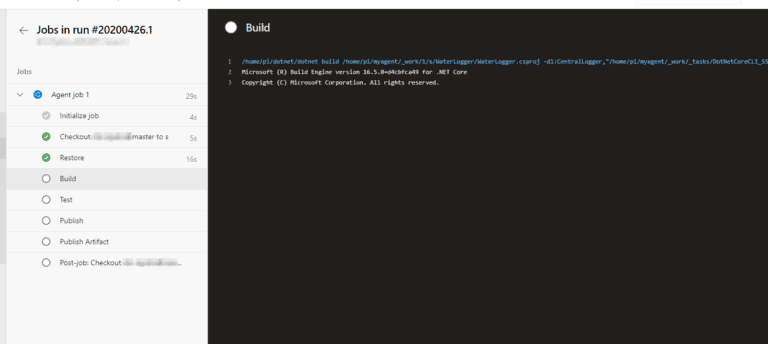
3. To see if your Pipeline is running, go back over to your Raspberry Pi and look at the agent that you started when you typed in /run.sh, it should look like this

4. You can also view the status of the build by clicking on the running job in the Pipeline.
5. Now, if you’re me, you ran into this issue:
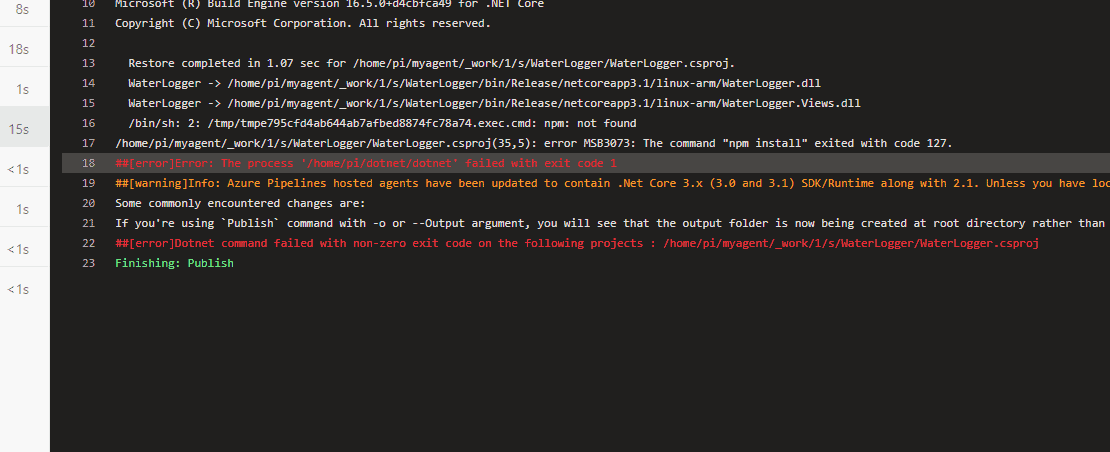
This means that you need to install node and npm. To do this, visit and follow the instructions on the npm site on your Raspberry Pi.
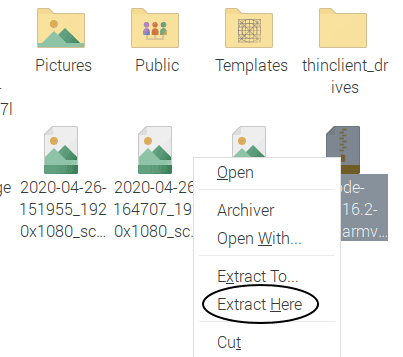
Note that on these instructions, it’s going to have you run a command tar gzipped file. I’ve found that this doesn’t work, and you may have to open up your file explorer, right-click on the downloaded file, and click on extract here for the step. Other than that, it will work just fine.
6. Queue the build again in Azure DevOps, and see what happens.
7. Note that with your first publish/build, it may take some time for it to gather all of the resources it needs (for me, it took about 8 minutes to build on the Raspberry Pi 4).
You still aren’t done. Why?

Well, what happens when your Pi reboots? You have to manually run the ./run.sh and dotnet command to spin up your solution. So, we need to create services to automatically restart those things when your Pi restarts; here’s how to do that.
1. Create a Service for your dotnet app (and replace any appname texts with your app name)
[Unit]
Description=ASP.NET Core 3.1 App – App Name
[Service]
WorkingDirectory=/var/www/appname
ExecStart=/home/pi/dotnet/dotnet /var/www/appname/appname.dll
Restart=always
# Restart service after 10 seconds if the dotnet service crashes:
RestartSec=10
KillSignal=SIGINT
SyslogIdentifier=dotnet-appname
User=pi
Environment=ASPNETCORE_ENVIRONMENT=Production
Environment=DOTNET_PRINT_TELEMETRY_MESSAGE=false
[Install]
WantedBy=multi-user.target
sudo systemctl enable appName-kestrel.service
sudo systemctl start appName-kestrel.service
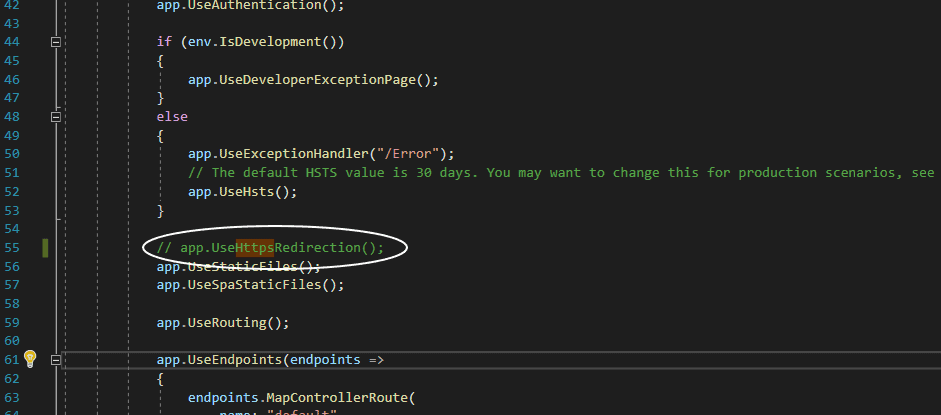
For me, I got a problem that happened where it kept on trying to run the site under https. I didn’t really want this to happen as I didn’t have https configured, so I went into my .net core Startup.cs and commented out this line, // app.UseHttpsRedirection();
Then I re-ran the build and copied it back to my web directory again.
After this, it should automatically start your web site even if your Pi has to reboot. There. One less thing to worry about.
2. The build service – this is a bit easier to do, just go to the directory you installed it on and run these commands (cd ~/myagent)
sudo ./svc.sh install
sudo ./svc.sh start
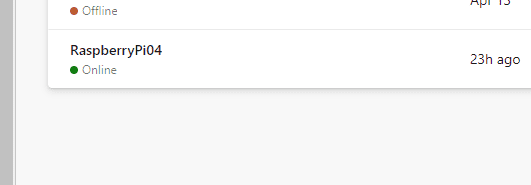
3. You can then verify that it’s working by going to the Agent in Azure DevOps, it should say Online.
There. Phew. That was a long process to get the build server up and running. The next step is to set up your Pi release Pipeline. That way, your build can actually run as a website there. It’s kind of an involved process by itself…that’s why it’s in my other blog post.
Be sure to check out the whole Raspberry Pi series:
Stay up to date on what BizStream is doing and keep in the loop on the latest in marketing & technology.